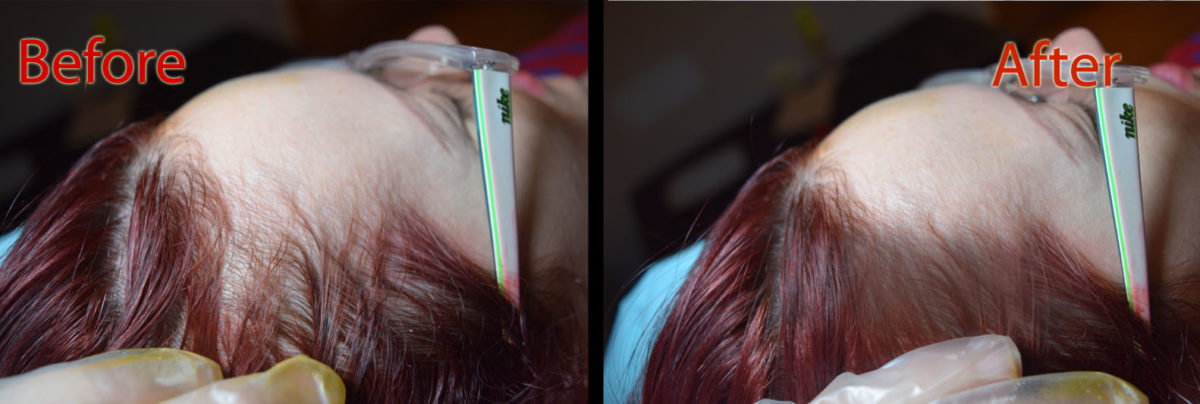
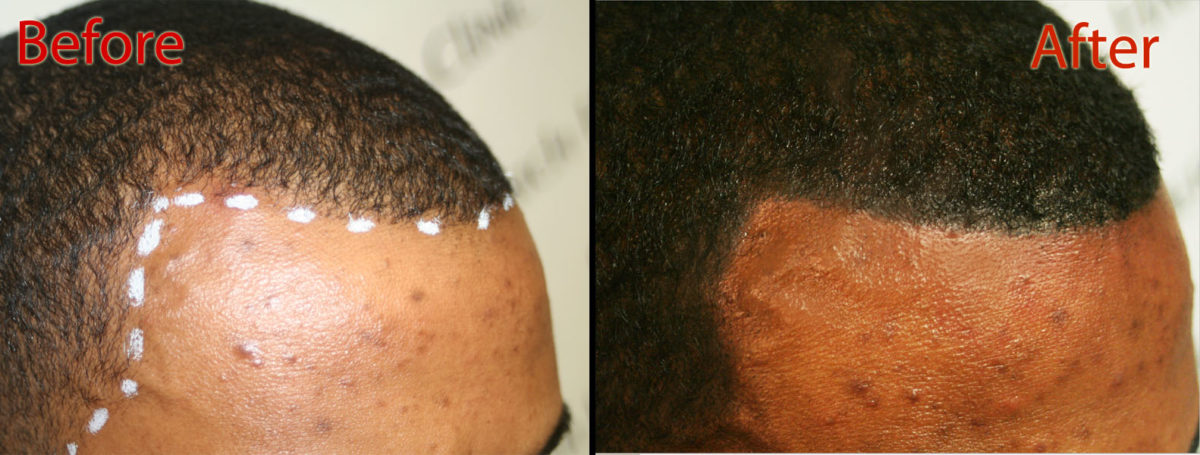
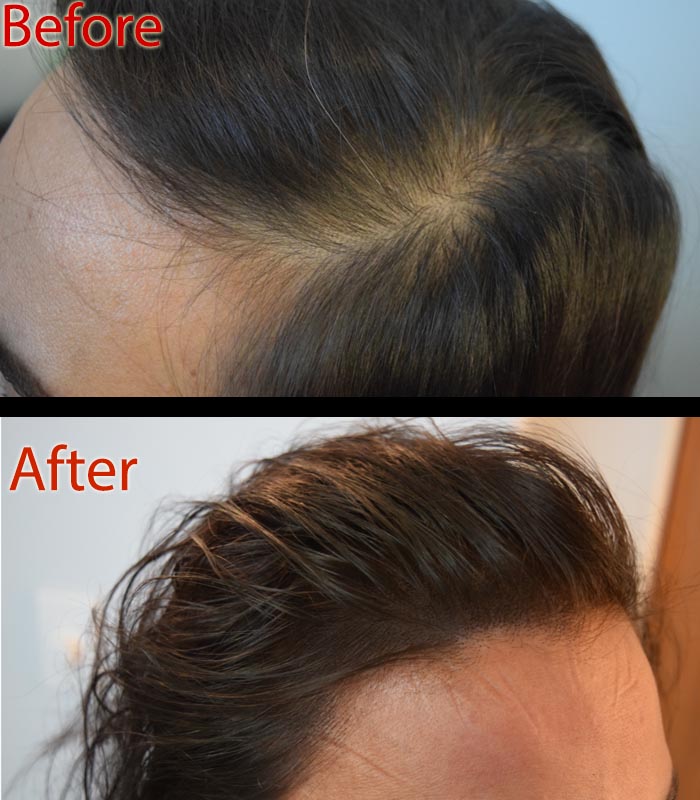
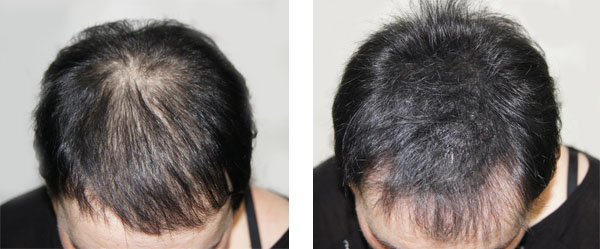
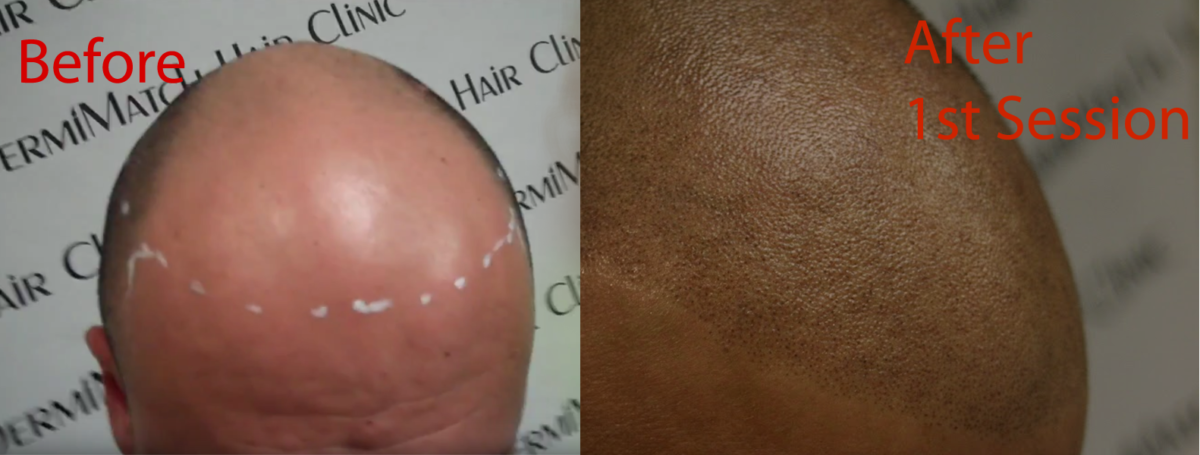
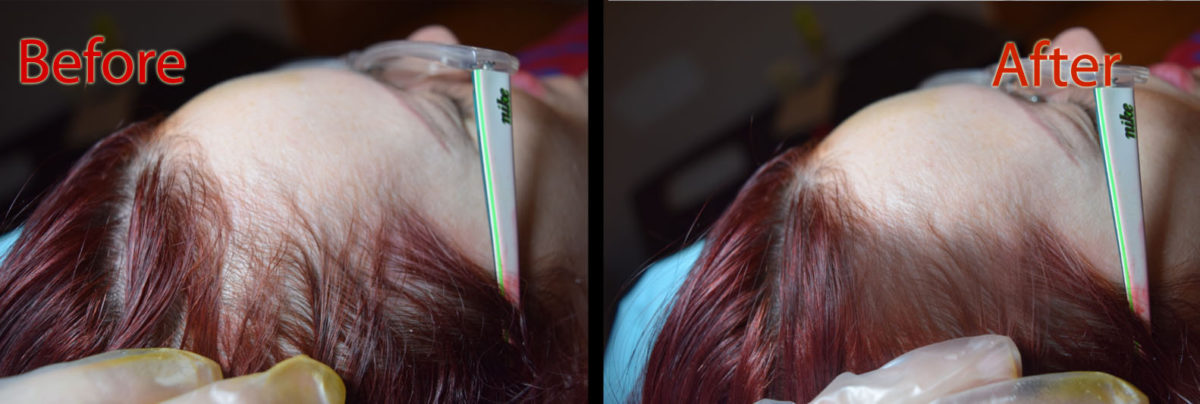
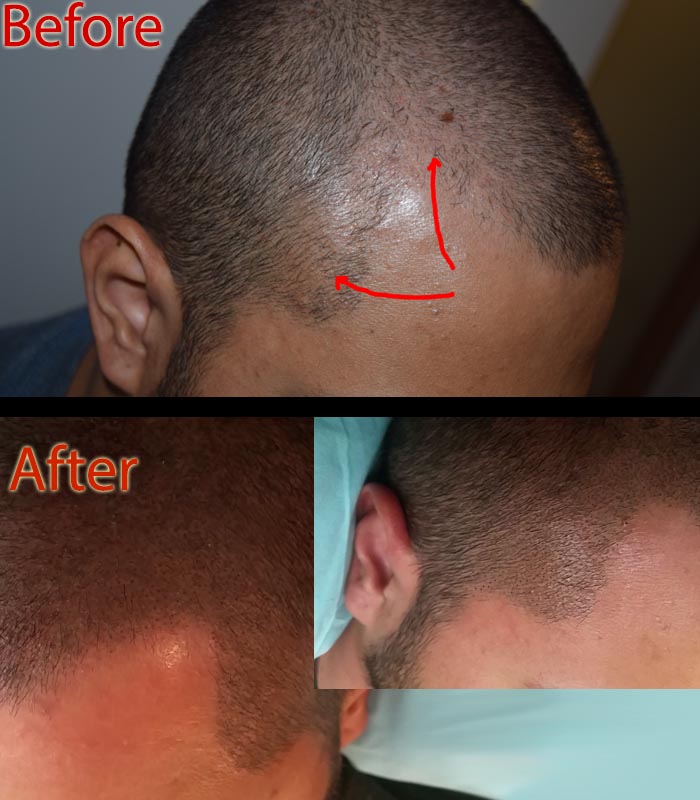
If you have done any research into SMP, you have likely seen providers showing before and afters or even wash sessions progression.
Any time we see this on a provider’s social media, everything seems perfect and easy going.
Realistically, there are typically challenges throughout the treatment of many clients. These challenges aren’t anything out of the ordinary but they do require the artist to adjust and make subtle changes in their technique.
The second session is typically the most informative to the artist. This shows how well the pigment stayed in the skin, how well things heeled, does the artist need to use darker or lighter ink, etc.
Many times clients are concerned as the 1st treatment heals because parts fade, it looks dotty, the impressions might be too large, etc.
This is all common and the client should be prepared for this in advance. You must explain that every person’s body is different and the blending and sessions must be completed to see the final results.
One tool an artist can use is completion correction to help with any impressions that have healed too bold or big. This pigment is a thick skin tone pigment that will work as a cover solution and helps with the blending process.
Completion Correction can be found at www.dermimatch-products.com. Dermimatch clinic is located in Scottsdale, AZ
This is a topic I never hear about from providers.
Typically pigment not staying or sometimes not even seeing an impression stick is due to working in scar tissue.
This can be frustrating for both you and your client. It’s the artist’s job to do everything possible to overcome this issue.
Change needle sizes, maybe change pigments, go slower, etc.
What if the scar tissue is just bleeding too much or the client has a history of poor healing or keloid scarring.
Unfortunately, there are times where you as an artist may need to inform the client that they need to address the scars’ heath by letting it heal longer, look at laser resurfacing, microneedling, etc before you can continue.
It’s important to try and spot these concerns before taking a client on, however this isn’t always obvious until you start the work.
Dermimatch pigments may be able to help as they are slightly thicker than what is commonly used in the SMP industry. The thicker pigment can help with pinpoint scar work without the “sponge” and migration effect scars can have on highly diluted inks.
What is Completion Correction (CC)? CC is a thick skin tone pigment originally used to cover dark spots or irregularities in the skin. Dermimatch Hair Clinic realized that this product was extremely effective fixing bad previous work on clients. It’s also a great way to reduce the appearance of the stubborn pigment left over after laser removal.
If done correctly, SMP can be removed in about one laser session but some deeper impressions may stick around. CC is a great tool to take these darker spots down.
You can be the best SMP artist in the world but you are putting thousands of impressions in the skin of varying depth. You will have a few impressions that may need to be blended and reduced.
Before CC, your option was to add more pigments around the area to help blend. We all know ” more is not always better”.
Using CC to reduce impressions with a blending technique can create a great medium of blending.
Lighting plays a big role in how we see results on any given client. Providers will also use lighting to obtain the best before and after photos for marketing.
It’s important to understand that this is natural and a fully shaved head will appear darker or lighter depending on lighting.
Example: You’re in a dimmed bar meeting a date for the 1st time, it’s likely you will have a much more prominent SMP shadow vs. meeting at the beach where your head is reflecting the direct sunlight causing the results to look much more subtle.
Some clients may ask why they took a picture at the pool and they look completely bald. They may even suggest going darker with their SMP. As an artist you need to be able to educate your client on the lighting effects and why “more is not better”. You don’t want a Lego head.
One way to address the reflection to achieve more of a shadow effect in bright lighting is to use a matting product. This helps reduce shine on the head and advances the overall realistic look of SMP.
Many potential clients ask me if Scalp Micropigmentation (SMP) turns colors over time; so I wanted to break down my answer as I would during a consultation.
There is no question that using the correct pigments, colors, shades, needles, etc. play an intrical part in an artist’s overall results. However, the SMP industry has utilized marketing, and some companies have flat out lied about using special SMP pigments. Many have stated that if these “special” pigments are not used that you will see blue and green results.
One demonstration posted on Youtube from the founder and CEO of a large provider; even went so far as to take “carbon black” tattoo ink and place it onto a paper towel. He then poured water onto the “black ink” to dilute it; as he poured the water onto the ink, it bleed blue and green. His statement was to use their pigments and not black inks.
That post has since been taken down because any tattoo artist or anybody who tried this demonstration could tell you; if you take black carbon ink and put it on a paper towel and pour water on it; it will only remain pure black in color.
Many artists in the industry are using carbon black tattoo ink and dilute it to create a “gray wash”. This is becoming more known in the industry and you can achieve good results if done correctly and subtly. Other companies are seeing some negatives in using pure black pigments and have created pigments with warming tones, different particle sizes, etc. Some examples you may want to look into would be https://dermimatch-products.com and https://permablend.com/products/perma-blend-scalp-set
The blues and greens you tend to see in regards to SMP results are a product of technique. If the pigment is placed too deep in the skin, this can create blowouts but also a blue/green effect as the pigment is sitting under layers of skin. This is more predominant in pale or light skinned clients and is created by the blurring effect and the light as we see the impression through layers of skin. You can test this by looking at some results in different lighting. Your results may look great in the living room but take a picture with a camera flash and it may appear blue-ish. This is the white light reflecting off the pigments under the skin.
Ultimately, your artist’s skill level should be able to keep the blue and green effect from occurring. If you have any questions or want to see results in person, you can reach out to Dermimatch in Scottsdale, AZ https://dermimatch.com
We all see Instagram posts of before and afters or 1st,2nd and 3rd session progression as it relates to Scalp Micropigmentation. Marketing and photos can be misleading and set false expectations of what is realistic throughout the process. Understanding the process and expectations is very important and should be relayed to potential clients during the consultation.
I’d like to touch on the process and expectation for each session in general terms. SMP is typically done throughout 3-5 sessions realistically. For demonstration purposes, I will go through session progression as if we are talking about 3 sessions.
First session – This is the time to create the overall foundation. Depending on your artist, this may be low density or a time to create density and get a “wow” factor for a client. Whatever path your artist chooses, this is the time to get a base down and fill in the balding area. Directly after a 1st session, the results may look amazing but as the treatment heals and the redness dies down, you will likely see sections that have faded or disappeared all together and other sections that have remained. This can leave a patchy appearance but do not be alarmed, this is normal.
Second session – This is the time that your artist learns about your skin, how you heal, the technique used and any changes your artist must make in their technique. Each client’s skin is different and requires adjustments to be made to achieve the best results. During this session, your artist will be filling in any sessions that faded and blend the work from the first session. This is also the time to create the desired density the client is hoping to achieve or even make any changes to hairline design.
Third session – This may be your last session for a while or it may not. This session is typically used to blend and create final detailed touches. Some artists may use a different shade of pigment to create a dusted 3D look on this session.
As mentioned, each client is different so your artist should be working with you based on how the results are healing. A client’s scalp skin is different from inch to inch so if some sections impressions stay and others do not, you will need extra sessions. As a client, it can be a scary process when the results are not healing perfectly after every session; again this is common and each session is used to fill faded portions.
Marketing might make one believe that each session looks perfect. This is not the case and requires many sessions to make the final results you see advertised. You can book a consultation with your local SMP provider or feel free to contact Dermimatch in Scottsdale, AZ at https://www.dermimatch.com and schedule a consultation.
Unfortunately as great as SMP is as a hair loss solution, we are still utilizing a 2D solution for a 3D problem. There are limitations to how natural this solution can look and it must be performed in such a manner as to obtain the most natural look.
Is SMP natural up close in person? This all depends, however, when creating 1000’s of impressions, it would be a lie to say every single impression remains small and precise. Each portion of the scalp is a different texture and can yield a different result from one inch to the next. It takes a skilled artist and lots of patients to achieve the best results possible. Your artist should also be utilizing a complexion correction or saline solution to target any impressions that are not satisfactory as a standard part of the treatment.
Natural hairlines are a must to obtain a natural result. It has become a trend in the SMP world to create the edged up barber look. If we are creating a shaved head look with SMP, how might one obtain an edge up look if they have a shaved head? You must have some length to achieve this with real hair right? So why would this be a great idea with a 2D impression? Although you can create a feathered edge up this is still a risky hairline to choose for the most natural result.
The idea is to give a shaved look of a full head of hair, not to try and create hair. As an SMP artist I can typically spot SMP in the real world from a mile away. Even if the SMP work is excellent, I can still tell. It has almost become a “look” that is acceptable. The “SMP look”.
I find this acceptable “SMP look” to defeat the purpose. So how do we avoid this look? SMP must be Subtle. Subtle with a natural feathered hairline. Do not get caught in the “more is better” trap.
Another point I should touch on is pigments. The SMP world tends to utilize diluted straight black carbon ink. Luckily some artists have adopted the idea that the carbon black needs to be warmed up to help avoid the “shoe polish SMP look” and to help avoid blue ting in lighter skinned clients.
Do your research and go to an artist that promotes a natural feathered hairline, subtleness and warm pigments.
Take a look at Dermimatch.com to see natural before and after results in Scottsdale, Arizona.
The idea of topical Finasteride has become more popular as big companies like “Hims” are utilizing and advertising this as an option to the traditional oral delivery method.
Finasteride taken orally is one of the few FDA approved treatments to combat hair loss. Subsequently, topical Finasteride is not FDA approved to treat hair loss at this time. So why would you want to take Finasteride topically if this is not an FDA approved method. The answer is very simple; side effects of taking Finasteride orally can override the benefits for many.
Finasteride works by blocking the hormone DHT in the body. As with any medication that is altering hormones in the body, there will be side effects associated.
Decreased sex drive
Ejaculation disorder
Skin rash
Trouble getting or keeping an erection
Increase in breast size and tenderness
Gynecomastia
Although Finasteride is typically well tolerated, many can be affected by these side effects or maybe just want to avoid taking the medication due to possible side effects.
Alternatively; “Topical finasteride primarily lowers the levels of DHT in the scalp and has a substantially lower impact on serum DHT in the body, which makes it less likely to cause side effects than oral finasteride.” https://www.usarx.com/drug/finasteride/does-topical-finasteride-work
To learn more or by topical Finasteride. Hims might be a good place to start.
Forehims.com
For other additional coverage if you’re either thinning or if you’re passed the point of pharmacologic intervention and still want to address your balding; check out Dermimatch Hair clinic in Scottsdale, AZ. https://www.dermimatch.com/
With so many people wanting to learn Scalp Micro pigmentation due to high income potential and relatively low cost to start up in the industry; the need for SMP correction has never been more prevalent. Unfortunately, many folks looking to get into the business are going through short training courses lasting 2-3 days typically. Some of these courses are 100% online which means the student gets zero experience on real skin. For the folks going to an in person training course; they are typically getting to practice on a human model however, they are not seeing their heeled results a week out making the training much less useful.
Luckily there are a few options to either fix the bad SMP or have it lasered off completely. Some options other than laser would be a saline solution, a diluted lactic acid or acid base or a complexion correction pigment needled into the bad SMP impressions. These options are limited and should only be used to correct some bad impressions and not for correcting a whole head of bad SMP work.
Laser is the best and cleanest option for getting rid of bad SMP. If the SMP was done with carbon pigment as most SMP is and the artist did not go too deep; SMP can typically be removed in one laser session as opposed to a traditional tattoo. This is because a tattoo is applied into deeper layers of the skin while SMP should be applied much shallower. Plan for two laser sessions to make sure all the impressions and dark spots are removed fully.
When looking for a SMP artist, do your research and also make sure they have apprenticed with someone for a decent amount of time instead of just completing a 3 day course. There is no substitution for working on real clients and seeing the progression and healed results.
Through my own experience; shaving my head after a hair transplant is extremely frustrating and can be crippling. I have spent years trying to reverse the scarring that I have sustained due to two FUT hair transplants.
Not only am I contending with the strip scar in the back of my head but I also had raised, red, spongy skin on the recipient site where the grafts were placed in my hairline.
I have exhausted all my viable options to help achieve the least amount of scarring to include, laser resurfacing, micro-needling, fibroblast, two scar revisions, FUE into the strip scar and I even took a tattoo pen and micro needled the hairline area with a dragging method.
I am fortunate that I have achieved pretty outstanding results.
Micro-needling, Fibroblast and even going so far as to drag a needle through the scared area with a tattoo pen are all inexpensive options you can do at home.
This at home option can take the place of expensive laser treatments. Be prepared to use a numbing cream as you are creating small burns on the surface of your skin.